
 (复制)")
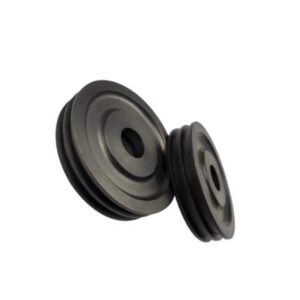
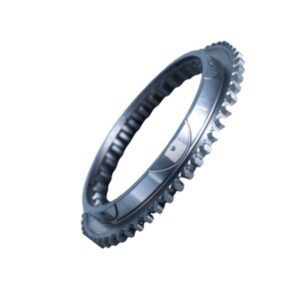
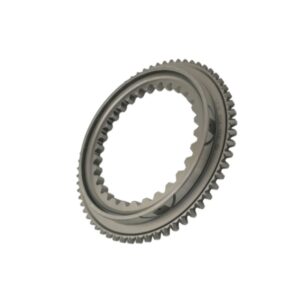
The Genuine SINOTRUK ZF Transmission Synchronizer Cone Hub (1297 304 523) is a high-precision component that is absolutely central to this process. As a vital piece of sinotruk spare parts, this hub performs the dual function of providing the necessary friction surface for speed matching and serving as the engagement point for the sliding sleeve. When this part is worn, the result is the unmistakable and damaging sound of gear crunching and difficult shifting.
Technical Specifications
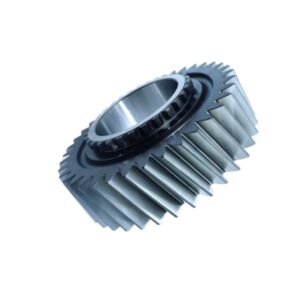
The 1297 304 523 synchronizer cone hub is a robust, precision-engineered component designed for the extreme demands of the ZF Ecosplit system.
|
Specification
|
Value
|
|
Part Number
|
1297 304 523
|
|
Alternative Names
|
Synchronizer Cone, Tooth Cone, Synchro Hub
|
|
Product Name
|
Synchronizer Cone Hub
|
|
Transmission Model
|
ZF 16S Series (e.g., 16S151, 16S221, 16S251)
|
|
Compatible Vehicles
|
SINOTRUK HOWO, SITRAK, and other trucks using ZF 16S gearboxes
|
|
Brand
|
ZF (Original OEM Specification)
|
|
Material
|
High-Strength Forged Steel (Carburized)
|
|
Weight (Approx.)
|
0.87 – 1.12 KG
|
|
Function
|
Provides friction surface for speed synchronization and engagement teeth for sliding sleeve
|
|
Condition
|
Brand New
|
Installation Notes
Replacing the synchronizer cone hub is a highly specialized task that requires complete transmission disassembly. This work must be performed by a certified transmission specialist in a clean, controlled environment.
1.Transmission Disassembly: The gearbox must be removed from the vehicle and placed on a stable stand. Accessing the hub requires the main shaft to be disassembled, often involving the use of specialized pullers and a hydraulic press.
2.Inspection of Mating Parts: Before installing the new 1297 304 523 hub, thoroughly inspect the synchronizer rings and the sliding sleeve. Since the hub is a core component, any wear on the old hub likely caused damage to the rings and sleeve. It is best practice to replace the synchronizer rings as a set with the new hub.
3.Installation and Lubrication: Clean the main shaft splines thoroughly. Lightly lubricate the internal splines of the new hub with the specific ZF-approved transmission oil (e.g., ZF-Ecofluid M). Use a press to install the hub onto the main shaft, ensuring it is seated perfectly against its shoulder. Never use a hammer, as this can damage the precision splines or the shaft itself.
4.Synchronizer Assembly: Reassemble the synchronizer rings, sliding blocks, and springs, ensuring they are correctly seated. Verify that the sliding sleeve moves smoothly on the new hub.
5.Final Reassembly: Reassemble the transmission, ensuring all components are torqued to factory specifications. Use new gaskets and seals.
6.Testing: After reinstallation, test the gear engagement in all positions. The shift should be smooth, and the transmission must hold the gear securely under load without vibration or noise.

Reviews
There are no reviews yet.