
 (复制)")
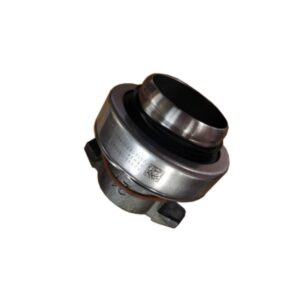
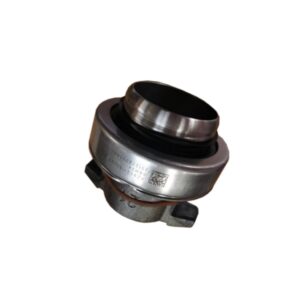
The Genuine SINOTRUK Howo A7 Air Brake Relay Valve (WG9000360524) is a cornerstone of your vehicle’s safety system, engineered to eliminate dangerous brake lag. As a critical component among Sinotruk spare parts, this relay valve acts as a high-speed pneumatic switch, ensuring that the rear brakes on your Howo A7 apply and release with near-instantaneous speed. By mounting this valve near the rear axle’s air chambers, it drastically shortens the path air must travel from the foot valve, providing immediate and proportional braking control.
Technical Specifications
Understanding the technical details is key to ensuring you have the right part for the job. This relay valve is designed specifically for the demanding requirements of the Sinotruk Howo A7 platform.
|
Specification
|
Value
|
|
Part Number
|
WG9000360524
|
|
Alternative Part Nos.
|
973011000, 9730110010, AZ9014360047
|
|
Product Name
|
Air Brake Relay Valve
|
|
Application
|
SINOTRUK HOWO A7 Series Heavy Duty Trucks (4×2, 6×4, etc.)
|
|
Brand
|
SINOTRUK (Original OEM)
|
|
System Type
|
Dual-Circuit Compressed Air Brake Systems
|
|
Operating Pressure
|
105-130 PSI (7.2 – 9.0 Bar)
|
|
Crack Pressure
|
Approx. 4-7 PSI
|
|
Port Sizes
|
Supply: 1/2″ NPT, Control/Delivery: 3/8″ NPT
|
|
Material
|
High-Grade Cast Aluminum Alloy
|
|
Origin
|
China
|
|
Condition
|
Brand New
|
Installation Notes
Correct installation of the WG9000360524 Air Brake Relay Valve is essential for the safety and functionality of your vehicle. This procedure should be performed by a certified heavy-duty truck technician. The following notes are for informational purposes.
1.Safety First: Park the vehicle on a level surface, chock the wheels securely, and apply the parking brake. Completely drain all air from the vehicle’s brake system reservoirs until the gauges read zero.
2.Locate and Identify: The relay valve is typically mounted on the frame rail near the rear axles. Before removal, carefully label each air line connected to the old valve (Supply, Control, and Delivery ports) to ensure correct reassembly.
3.Removal: Disconnect the air lines from the old valve. Be prepared to use appropriate wrenches to avoid damaging the fittings. Once all lines are disconnected, remove the mounting bolts and take the old valve off the vehicle.
4.Installation: Mount the new WG9000360524 relay valve, ensuring it is secure. Reconnect the air lines to their corresponding ports, using new thread sealant on the fittings to prevent leaks. Do not overtighten.
5.System Recharge and Leak Test: Close the air tank drain cocks. Start the engine and allow the air system to charge to its full operating pressure (governor cut-out). As the system pressurizes, listen for audible leaks and spray all new connections with a soap and water solution to check for bubbles.
6.Functional Test: With the system fully charged, perform several service brake applications. The brakes should apply quickly and release without delay. Check for any air leaking from the relay valve’s exhaust port after the brakes are released. A constant leak indicates a faulty valve or installation.

Reviews
There are no reviews yet.